Happy Friday Everyone! As we look forward to the summer months and those weekends, the more I seem to have of a tonne of these beach photo's to scrap. With so many beautiful colours in the product range, there is never a shortage to choose from...here's a double page layout that I recently completed.

You might recognise this embellishment that I called "Tidal Rock Pools" from a previous post, I was still figuring out what I was going to do with the rest of the layout. Once inspiration strikes, it all came together in an afternoon.

Once all of my patterned papers and photo's were layered and adhered to the background papers, I decided I wanted to replicate some elements from the photo above,

the hessian trim was folded back to create some open space

where I used the Deep Water Colour Paste.

over a fishing net stencil.
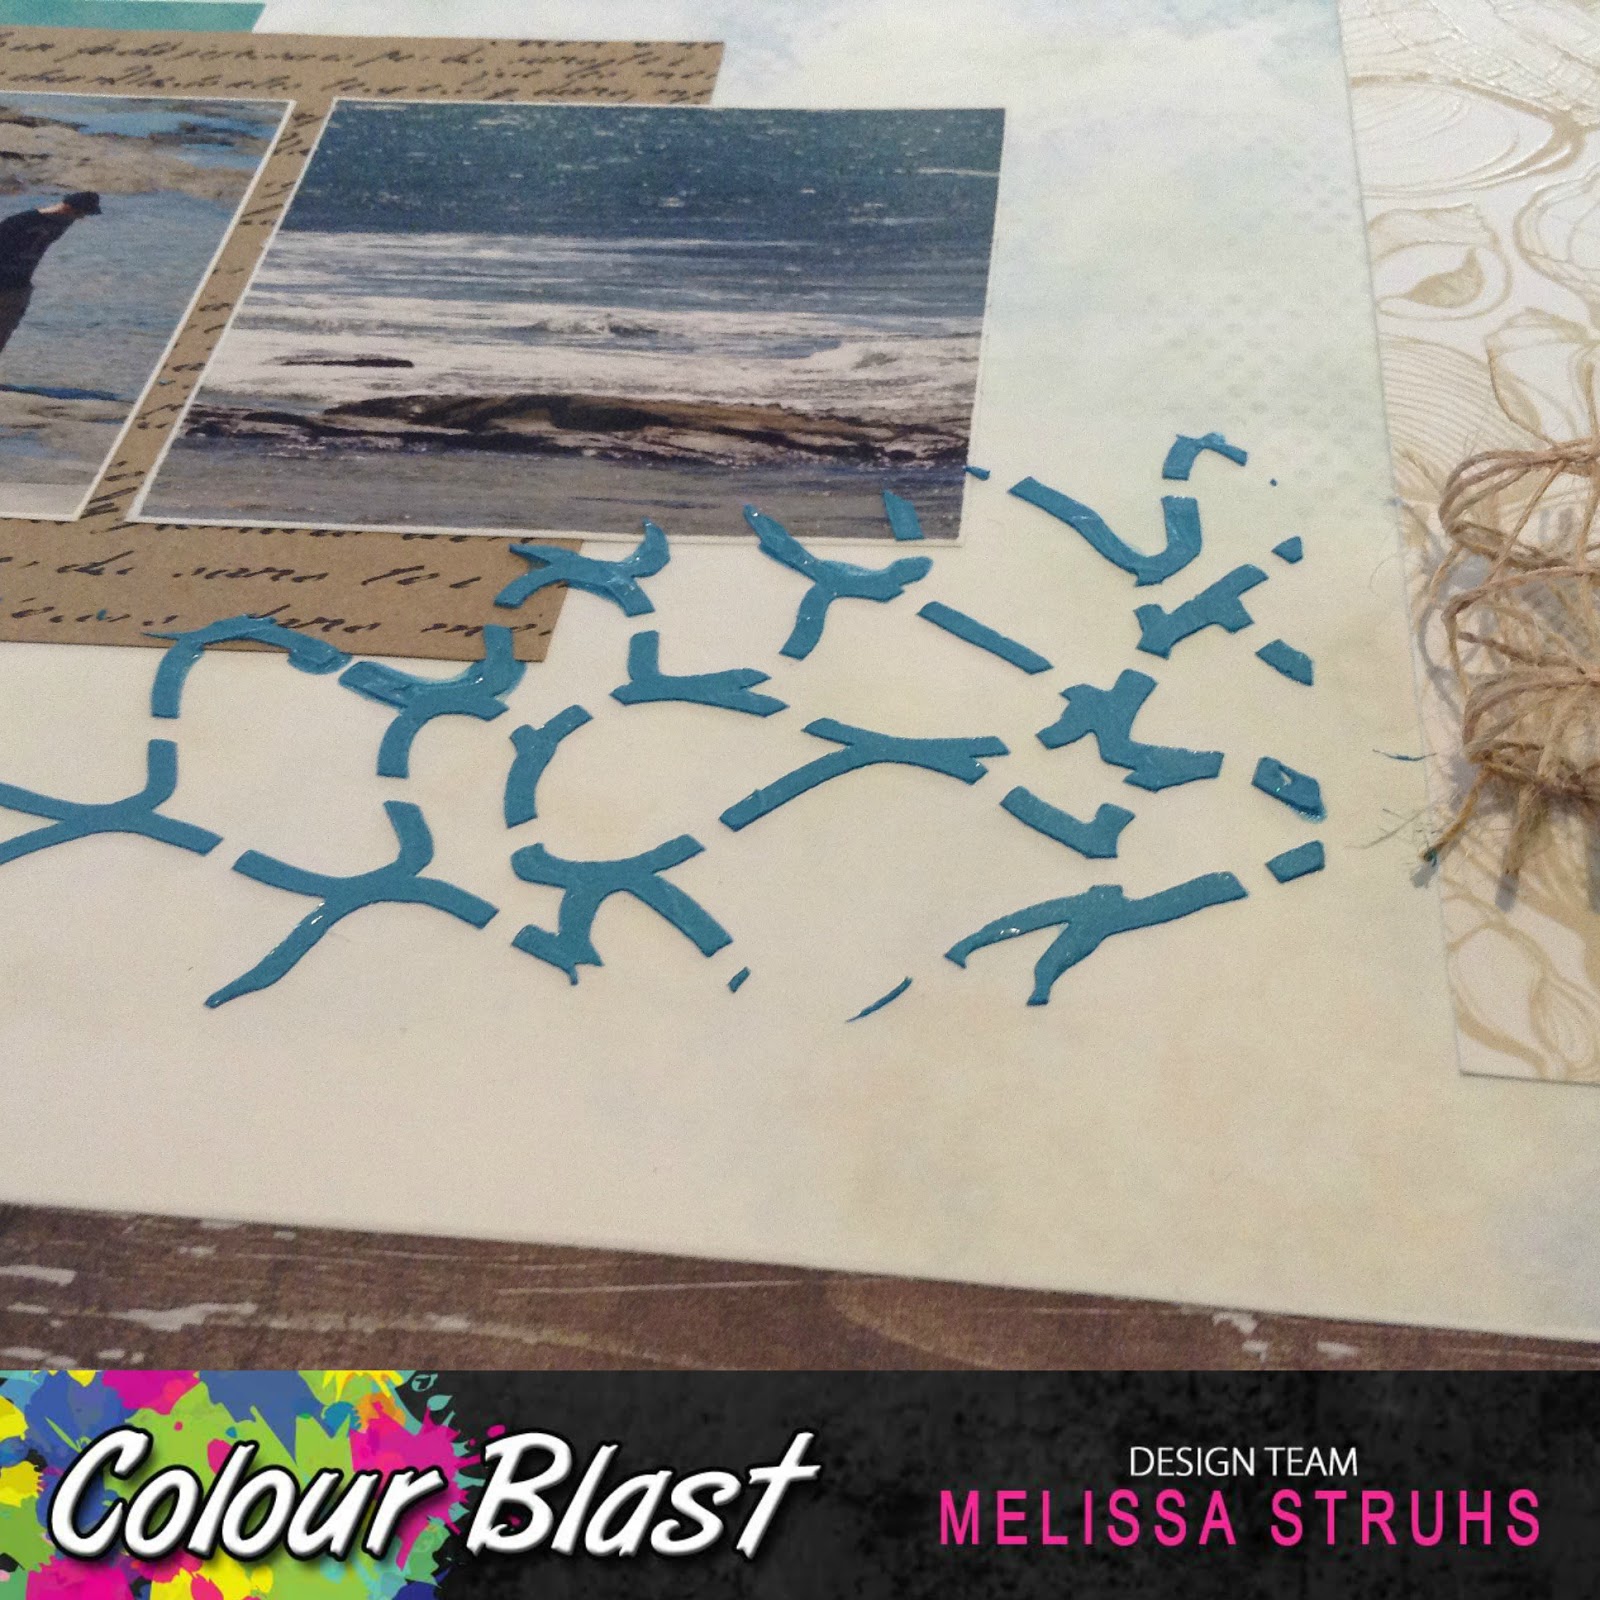
I love that the pattern has a very unstructured rustic look to it.

This gorgeous chipboard piece is quite large and usually when I create a double page spread, I look for way to split the piece and make it more unique.

You can see where I have made my adjustments, now it is 3 separate elements that I can play with.

These pieces have had a white ink layered underneath Snow White Colour Embossing Powder,

it still looks relatively silver with just one coat.

The seaweed element had a versamark ink applied and a Deep Water Colour Embossing Powder was sprinkled lightly over the top.

And finally, Singin the Blues Colour Embossing Powder was added to a light blue ink on the seashell (heavy in some spots, light in others...but it didn't fill the laser cut lines of the chipboard).

Here's where I wanted to really make the larger starfish stand out...more solid. There have been times when you have seen the Design Team girls do 1 or 2 coats of embossing powder. We have discovered that while the powder is still hot after melting it, you can simply add more and layer it up. In fact, I did 4 coats and it is so glossy...

and while this layer is still soft, clear micro beads were pushed in to added some bumpy texture.

A little heat from the heat gun softens those beads too!

The smaller starfish was adhered into place with glossy accents, so many layers of embossing powder put a stop to replacing it back into it's original place, now it has a more prominent 3D look.

To finish off the entire double layout, Singin the Blues and Deep Water Colour Shimmer Sprays were spritzed lightly and larger flicks of colour to the lower sections of the layout. Here are some more close up's of the details...

If you loved the other elements on the page and missed them last time, don't forget to follow the link across to the older post so you can see absolutely everything!
Till next time,
Mel.

No comments:
Post a Comment