We have had fabulous Blue skies in Melbourne
which inspired me to pull out a photo I've tucked away
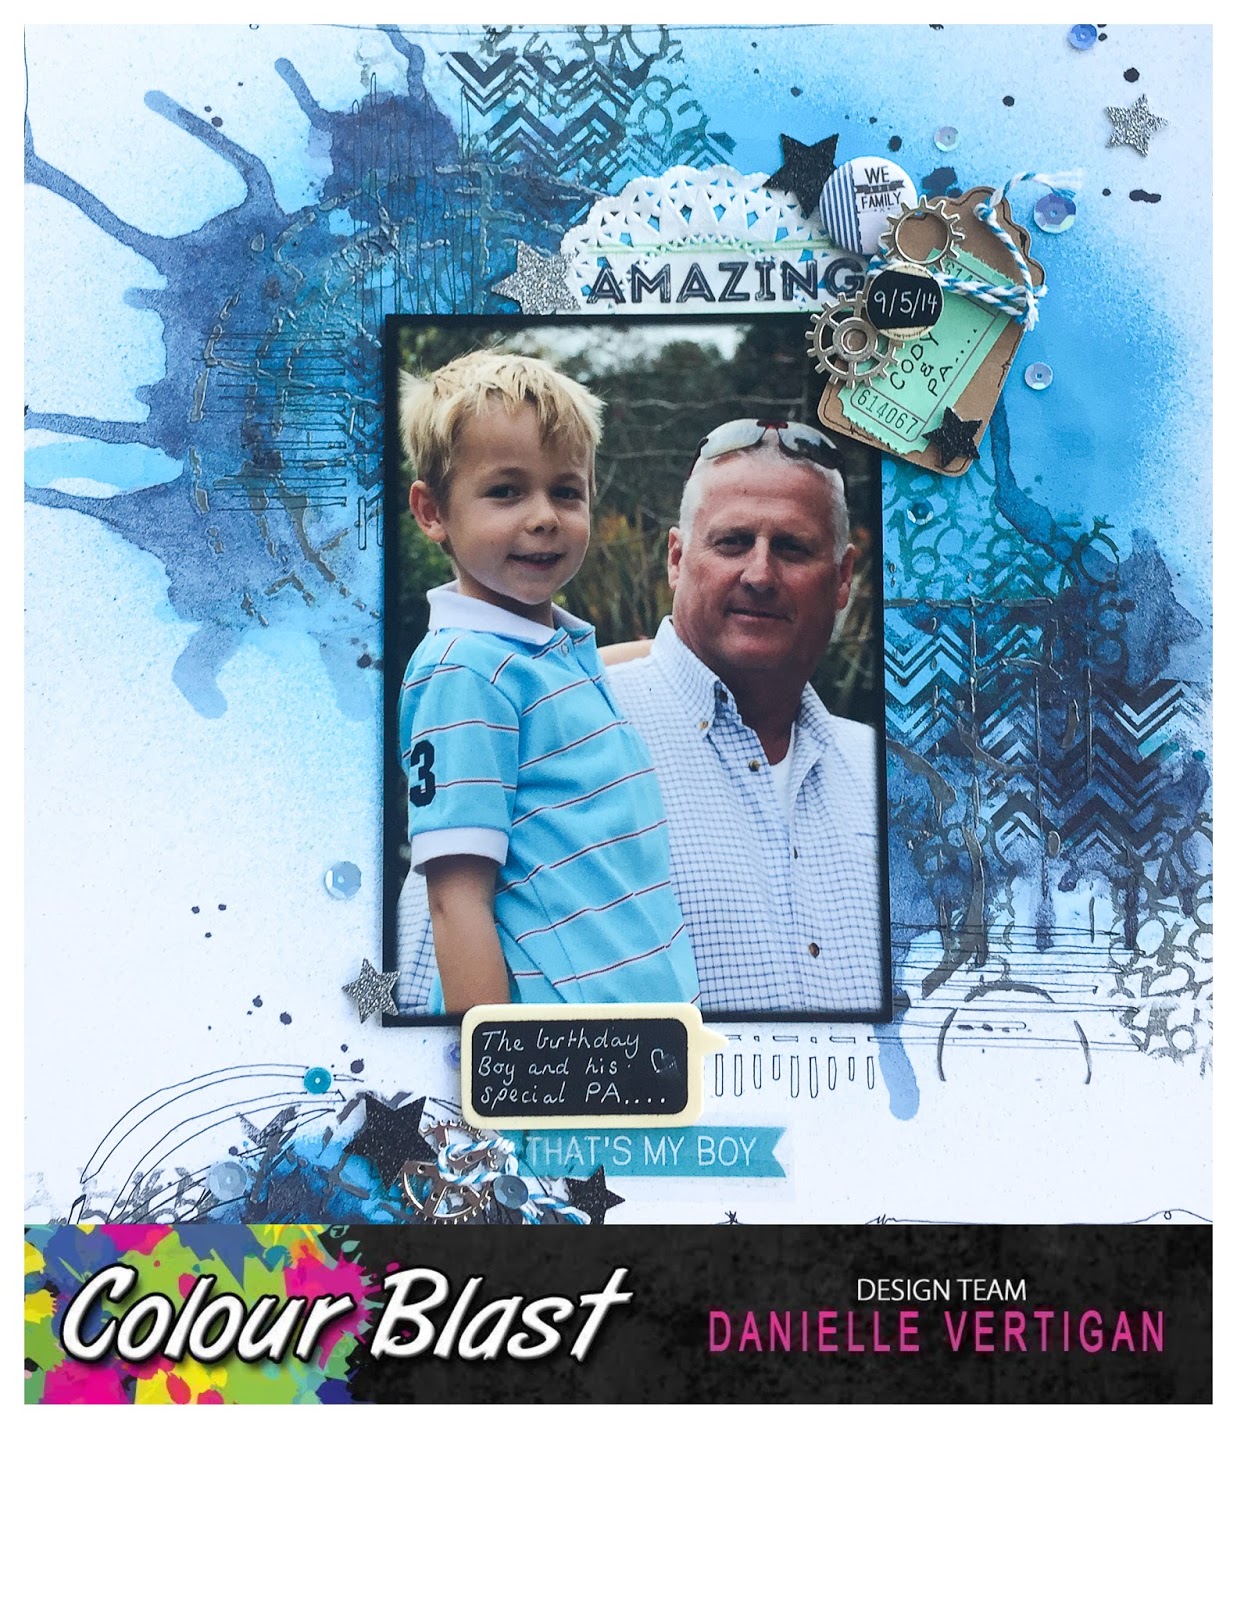
just waiting for the right layout to come together.
I started my background with thoughts of these fabulous skies and as it came together
that treasured photo was exactly what I needed.
Its the elusive photo that's hard to catch......
Anything that includes my DAD.
I've treasured this and I'm so excited to share it with you here.

These fabulous blues are layered using a selection of Colour Sprays and Shimmers.
So to get started I used the

First I Spritzed the page with Carribean in my chosen area.
I then moved in close with Sapphire and began heavily spritzing to intensify the colour and create drips.
I kept alternating this process with both the Colour Spray and a water spray.
Firstly creating the watermark/ring inside my spritzed area
then tilting the page and repeating again to create the run.
Your page will get quite wet and as I always do I have layered my card onto chipboard before starting to add strength.

Some Splatters using a mixture of Sapphire and Carribean where spread around the page followed by the addition of some flicks of the stalk using Road Base. I spritzed at close range the bottom section and also flicked this area.

Now was time to layer my stamps.
I selected 2 designs using Stazon ink in Black and Stone Grey.
I lapped the edges of my page and kept in mind where my photo would go.

Once dried I chose my stencil and the Steel Colour Paste.

I used this to add another focal point to my three areas that I have created around the layout.


The particular stencil I chose had varying designs on it which worked well using each design in a different section. As you will see from the close ups above.

It was time for depth and some shimmer fun.
I have to say Shimmer Dust my FAVOURITE product.

Sprinkling directly to my page using the spatula I got started.
This was spritzed with water

I repeated the process a little further outside my first area scattering more Shimmer Dust as seen in the above picture as well as some more in my first zone to add more depth.
I added quite a bit of water tilting the page to get the desired run off. changing the angles to keep the colour in the areas I wanted it.
This process was repeated again in all three areas.
They where completed separately to allow the versatility of changing the directions of my runs to cater for each area individually.
You will see this below in my completed background.

Now its time to Embellish!!!!
I kept it simple.
The background has a lot happening and is its own embellishment to the layout.

Using another stencil I traced areas with my gel pen.

The shimmer and intensity of colour is divine.

The gel pen is rough and jaggered.
Exactly as it should be

The finished result......
I LOVE!!!
What will your next inspiration be????
To purchase any of these goodies pop on over to
thanks for stopping by
and
Happy Scrapping

No comments:
Post a Comment